The GO 4 Schools MIS enhanced communications includes the option to send SMS messages to all staff. This allows schools to quickly update teachers and support staff about key information.
SMS messaging will need to be enabled and linked to an active Twilio account. See article Enabling SMS functionality.
Permissions
Users will need the following permissions -
- Can send SMS communications.
- Can send adhoc communications to staff.
Settings
To enable staff SMS go to People > SMS Setting and enabled the additional settings:

Sending message
Go to People > Communications > Compose message and select 'staff' to work through the messaging wizard.
Step 1 - Compose message for email and/or SMS message: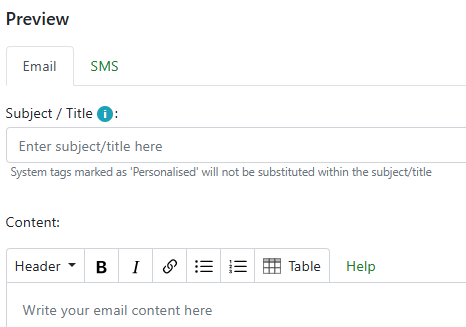
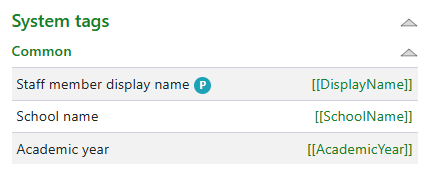
The message has system tags that will pre-fill into the message content by dragging and dropping into the message.
Step 2 - Select recipients
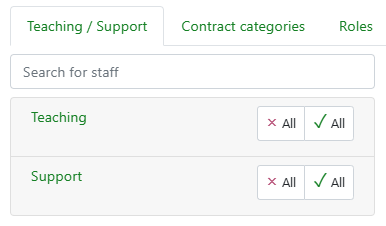
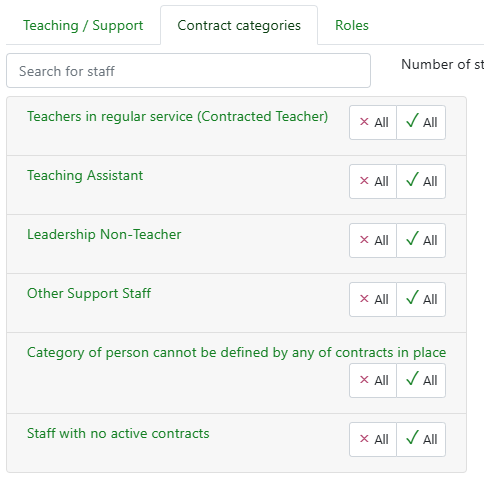
Staff are categorised into 3 tabs based on the data held in the MIS for staff.
Teaching staff are those who are linked to the timetable and support staff are all other staff.
Contract categories for MIS schools that have contracts enabled as listed below.
Defined user roles setup in the MIS.
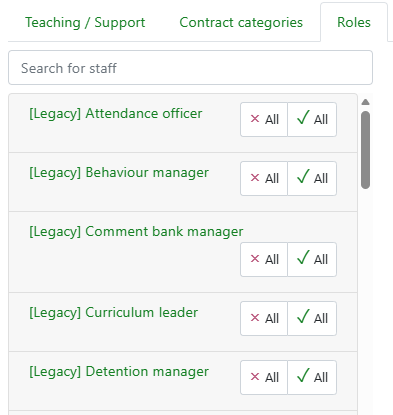
From the preferred list either select all or individual staff from any category. The search box allows specific staff to be added from across any defined list.
Step 3 - Select channel for recipients:
The page will list all individual recipients and then users can select preferences for sending by email, SMS or both.
If sending SMS users can select a preference for personal or work mobile numbers to be used or a combination of both.
 Using the channel preferences this can be selected to prioritise either email or SMS. If SMS messages are selected the page will show the cost incurred. This can be refreshed to update the balance prior to sending.
Each channel also has a bulk action selection from the drop down:
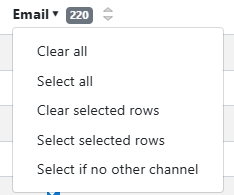
A count of recipients for each channel will display and if no number or email address is available for the recipient this will be greyed out by default.
 Step 4 - Message Preview
The message will preview for both email and SMS on separate tabs to be checked prior to sending. If you wish to schedule the message this can be done by setting the date and time prior to sending.
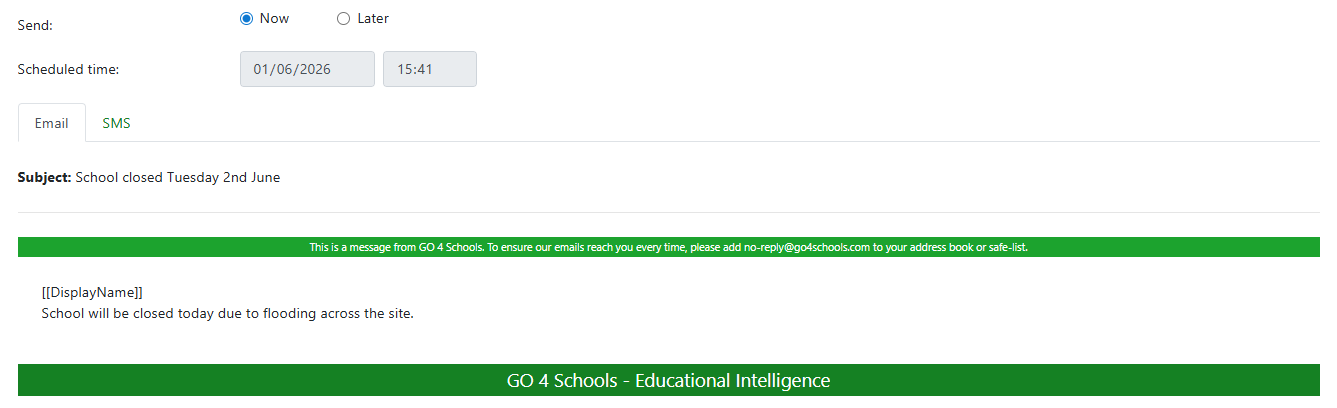
The message will use the header and footer set up by the school and will use the school defined email address as the sender email.
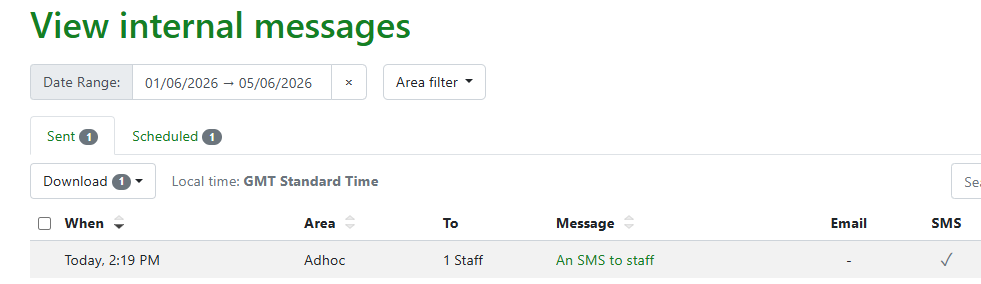
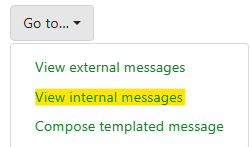
Sent messages can be viewed by using the 'GO to' menu in the top right and selecting 'Internal messages'.
The page will list all messages within a selected date range or by filtered area i.e. ad-hoc message.