A School message does not use a template and can be accessed from the menu via: People > Communications > Compose message
Permissions
To access the page, the school must have MIS and enhanced comms enabled, and the user must have one of the following permissions:
- can-send-email-communications
- can-send-app-communications
- can-send-SMS-communications
As well as one of the 'adhoc' based recipient permissions, such as
- can-send-adhoc-communications-to-parents
- can-send-adhoc-communications-to-students
- can-send-adhoc-communications-to-staff
Follow the Wizard steps:
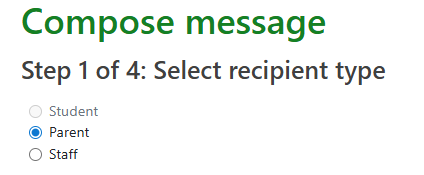
Step 1: Select recipient type
This step will allow the user to select which recipient type the message is for. Radio buttons will be disabled if users do not have the correct permissions for that recipient type e.g.,
Parents > Can-send-adhoc-communications-to-parents.
NB: If following up a message, this step is skipped as the selected recipient type is the recipient type of the message being followed up.
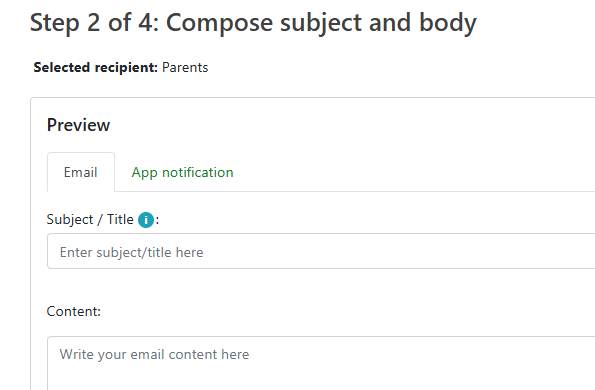
For future steps, the selected recipient type will appear below the step name.
Step 2: Compose subject and body
This step allows the user to upload email attachments, define custom value tag substitutions and view previews of the final messages.
The school's communication settings as well as the communication settings for the selected recipient type for school messages , determines if a channel is enabled. (If a channel is enabled for at least one year group for the selected recipient type, then the channel is enabled here).
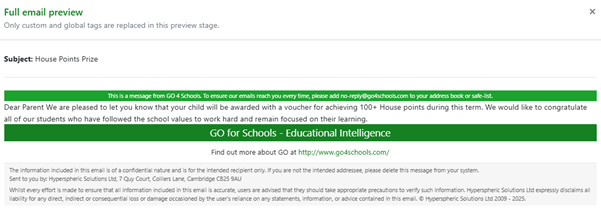
A Preview is available via the ‘Full preview’ button:
Use the Attach files button to select attachments to add to an email. 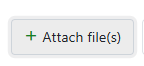
Note the information regarding file size and all attachments will display.

Note the character limit is 5000 for an ad-hoc message.
Step 3: Select channel(s) for recipient(s)
Once the message content and attachments have been confirmed, the user must specify the recipients for each channel the message can be sent to.

Select recipients from the student selector and save to confirm the list. The total number will display in the selection button.

In the table columns will be displayed for each available channel, with checkboxes for each potential recipient. If a recipient cannot receive messages via one of those channels, their checkbox will be disabled.
Clear all channels unchecks all recipients in all channel columns.
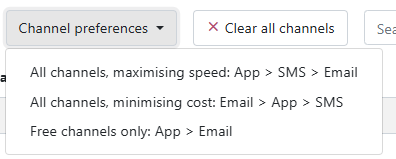
Channel preferences can be used to autofill the channel checkboxes based on the chosen option. Only one channel will be chosen for each recipient, prioritised in the order shown. If the first channel in the option's list cannot be chosen for a recipient - either because it isn't available or the recipient cannot receive messages via that channel - the next will be tried etc.
- All channels, maximising speed: App > SMS > Email
- All channels, minimising cost: Email > App > SMS
- Free channels only: App > Email
Step 4: Preview and send
The final step shows full previews for all channels which at least one recipient has been selected for.
Clicking send will queue the message to send to all chosen recipients and will automatically redirect the user to the view message page.
Follow up messages
GO to People > Communications > View messages and select a message that requires a follow up, select the recipients required. Then select ‘Send follow up message’.

Step 1 of 3 - Compose subject and body of message for each of the preferred channels.
Step 2 of 3 – Select channel(s) for recipients
Step 3 of 3 - Preview and send